Let’s learn how to create a world of miniatures and wonder with Dina Belenko. Dina is fine arts photographer, who creates magical photos using her imagination, camera and a bottomless well of arts & crafts skills.
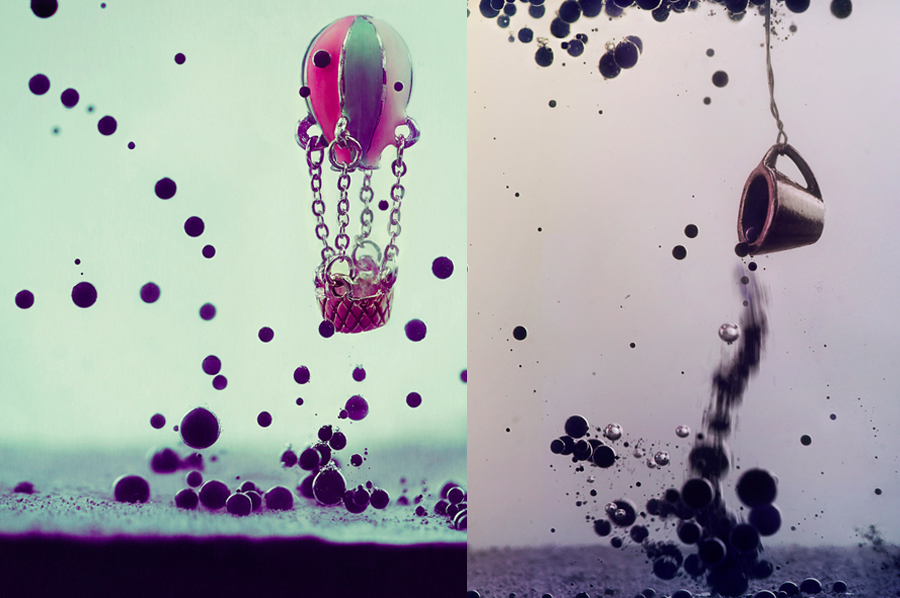
In this tutorial we will learn how to combine oil and ink, edit background colour, and how to use flat objects to our advantage. At the end of the tutorial you will learn how to produce images similar to...

Introduction
Various liquids are often used in still life and macro photography, for example: colorized water, paint, or foam. I would like to share my experience of using plain sunflower oil which, despite its commonness, can produce interesting and beautiful results.
You will need
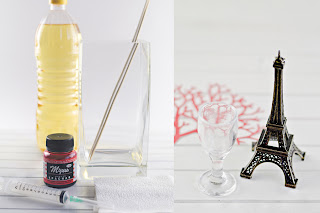
Transparent container (preferably the one with straight walls, like an oblong vase or a small fish bowl)
Syringe
Sunflower/canola oil (at least 500 ml)
Water and ink (you may take any kind of it)
Chopsticks (to hang or move an object without spoiling your fingers in oil)
Napkins (the more the better)
Object or objects that will be the main subject of the picture (toys, miniatures, paper figures)
Post-processing program of choice
Light
I used one soft light source from behind the object to make the oil look more transparent, and another soft light from a side (I used a soft box and window, you can also try using a white/silver reflector or shooting outdoors).
Process
Place the object (in my case it's the miniature Eiffel tower) at the bottom of the vase. Then carefully fill the vase with oil (try to hold the bottle so that the oil flows down the wall of the vase without spattering).
Then fill the syringe with some ink (try one or different colours). When done carefully dip the needle into oil and let out a few ink drops — ink is heavier than oil, so the drops will slowly fall down as dark bubbles. You may let them float here and there, and can also experiment making a “spiral” with ink drops around the object. Try and find the best variant for you.
Editing
First of all, we need to get rid of the yellow color from the sunflower oil. In your RAW-converter (I use Adobe Lightroom) there should be an option to decrease the saturation of separate colors. Reduce saturation of yellow and increase its luminance.
After this initial and very important edit you can proceed to editing ink bubbles conversion you may add or delete bubbles. Then adjust the color once again and voilà, the picture is ready!
Variations
You can play around with different objects and get very different images as final results. Careful to use objects that would not spoil or taint the sunflower oil (avoid anything dirty or that could bleed).
You can use flat objects (like paper figures) and glue those to the back wall of the vase. The picture itself may lose its volume, but this way you will get an almost unlimited amount of plots for your pictures.
I hope you will find this advice useful. Try it out! I wish you good shots!
Thanks for reading! I hope you enjoyed this tutorial.

No comments:
Post a Comment